
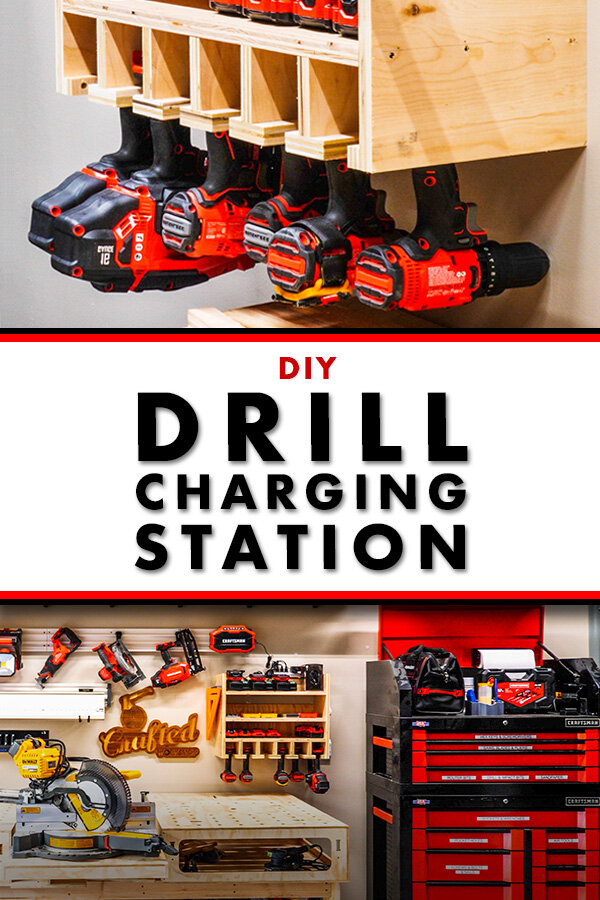
How To Build A DIY Drill Charging Station and 2x4 Workbench Base
Learn how to build a simple 2x4 mobile workbench base and drill charging station, perfect for getting your garage shop storage dialed in!
Note: Below are affiliate links
🛠 Tools Used On The Project:
📦 Materials Used On The Project:
3” Screws (attaching 2x4 workbench framing)
Screws (attaching 2x6 legs)
1 ⅝” Trim Head Screws (attaching plywood)
Pin it!
Download The 2x4 Workbench SketchUp Model!

Click the button below if you’d like to download the free SketchUp model that I created to go along with this video. I realize this is a super simple design, but I know some of you would have asked for it, so here it is, free of charge!
Build Process For Workbench And Drill Charging Station:
Step 1: Address The Garage Problem AKA The Shop!

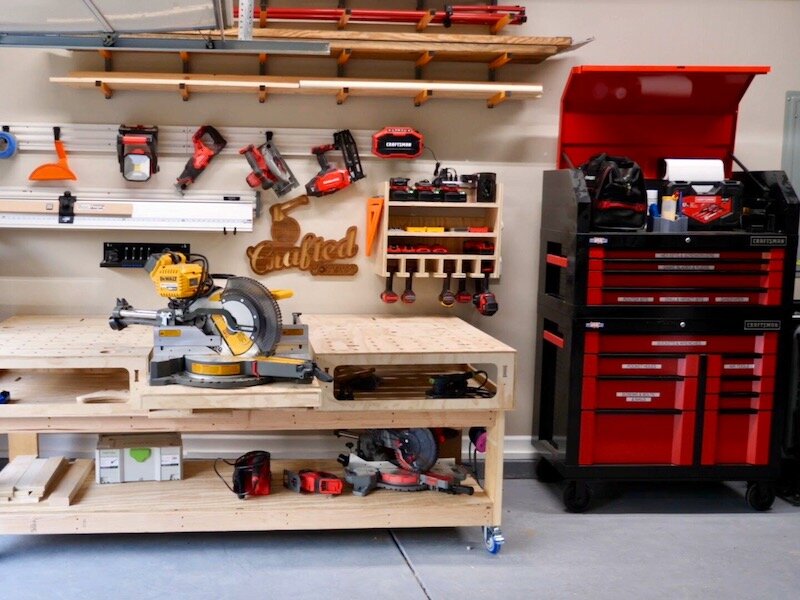
Since getting the shelving up, the main problem area in the garage has been my workshop, since I was lacking organization and, more importantly, mobility. I had started to get things organized with some of CRAFTSMAN’s VersaTrack hanging storage, as well as one of their sweet tool chests, but things still weren’t quite dialed in.
What I really needed was a better way to move my workbench and miter saw station out from against the wall to work on projects, then back against the wall when I wasn’t working in there so my wife could get her car in.
Step 2: Design A Plan For Mobile Workbench In Garage
To solve this issue, I whipped up a quick mobile base for my workbench, and I kept the base super simple, using 2x4s for the platforms and 2x6s for the legs.
Step 2: Breaking Down Lumber For Mobile Workbench

To build the base, I first cut the pieces to size at the miter saw.
Step 3: Assembling Mobile Workbench Framework

Anyway, after cutting the parts for the platforms to size, I could get them assembled with 3” screws. These platforms are essentially assembled like a miniature wall, and I just added two screws at each joint. It’s also really helpful to pre-drive your screws here, since it can be tricky to hold the piece in place while trying to add these long screws.
After getting the first platform assembled, I repeated the process on the second platform and, as you might notice, I screwed up the spacing and ended up making all but one of the pieces too close to each other, leaving me with weird spacing for the last piece.

With the two platforms assembled, I could get the legs cut to length from a 2x6 over at the miter saw.
Once the pieces were cut to size, I could get the legs attached to the two platforms to complete the base structure. I did add some glue to these joints for a little added strength, and added five 2 ½” screws per joint. Probably overkill, but this thing ended up super sturdy.
I also made sure the legs were nice and square and flushed them up with the ends of the platforms before adding the screws.
I repeated the process at the other end of the base and then mounted the other two legs on the opposite side of the base. As you can see, I changed the orientation of these legs, and this was for a few reasons.
One, it was easier to get the piece of plywood I would be using for the bottom shelf into this opening. Two, it would be easier to access the items on the shelf from the front of the workbench. And C, having the legs oriented this way helps to prevent racking side-to-side.

Step 4: Installing Locking Casters To Mobile Workbench

Once the legs were on, I could flip the base over and add some 4” locking casters from Rockler. These are my favorite casters by far and make for an easy-to-move workbench that locks down securely when it’s time to get to work.
After adding the casters, I flipped the base over and, as you can see, it wasn’t quite flat due to the less-than-straight 2x4s, but it ended up settling out once everything was loaded onto the workbench.
Step 5: Transferring Old Workbench Top To New Base

Next, I could get everything moved off of my existing workbench so I could move the worktop over onto the new base. This workbench is actually a commercially available system from FastCap and it’s an awesome combination of a miter saw station, workbench, and outfeed table, but FastCap designed it to be flat packed so it can be taken to job sites.
I’m not likely to ever use the workbench in that way, so I figured a more sturdy, more mobile base like this would work much better for me.
Now, obviously most of you don’t have an existing workbench top like this, but you could easily make the legs on the base a little taller, add a piece of plywood or MDF on top, and you’d have a simple, sturdy workbench.

Anyway, after getting the tops moved over, I centered them on the base and then attached them to the base using 1 ¼” screws. It was a little tricky to add the screws inside the tops at first, but I picked up this CRAFTSMAN flexible bit holder and it worked great for this. I actually ended up just running the bit holder through one of the holes in the top of the workbench and using it as a bit extension, rather than trying to bend it to get inside the top, and this worked even better.
Next, I could get the piece of ½” plywood for the bottom shelf cut to size with my circular saw and then I installed it in the workbench. I made the cut a little long, so I had to persuade it a bit to get it into place, but it ended up fitting well in the end. I attached the plywood to the base with more of the trim head screws I used for the shelving, and I’m really excited to have all of this storage under the workbench now.
And, as luck would have it, the battery powered miter saw fits perfectly on this bottom shelf, so I can keep my larger miter saw set up on the workbench and then use the smaller miter saw for more mobile use.
Step 6: Building A Drill Charging Station
With that, the workbench was good to go, so I could move on to the last bit of garage organization, a drill charging station. Drill charging stations are a great addition to any shop and I love the one I have at my main shop, so I knew I definitely wanted one here at the house.
I found a great, simple design from Amy over at Her Tool Belt, which I’ll link to in the video description, and I just modified it slightly for my needs and to use up the plywood scraps I had on hand.
Step 7: Milling Plywood For Drill Charging Station

First, I cut the sides and shelves to size at the table saw, using some larger scrap pieces of ¾” plywood I had left over from the laundry room countertop I built a few weeks ago.
Once those pieces were cut to size, I ripped strips to width to be used as the dividers and hangers for the CRAFTSMAN drills, impact drivers, and cordless nailers I would be storing in this charging station.
With the parts cut to width at the table saw, I could cut them to length at the miter saw, setting up a quick stop block to quickly batch out the pieces.
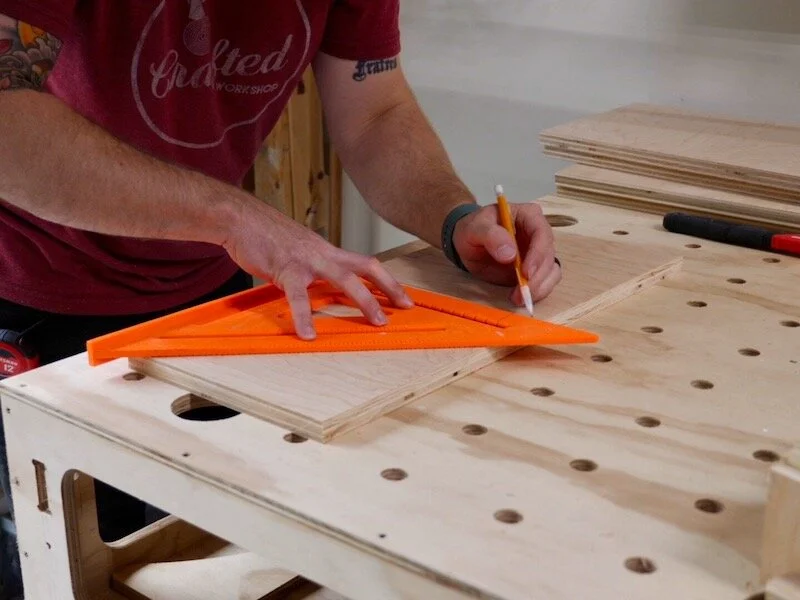
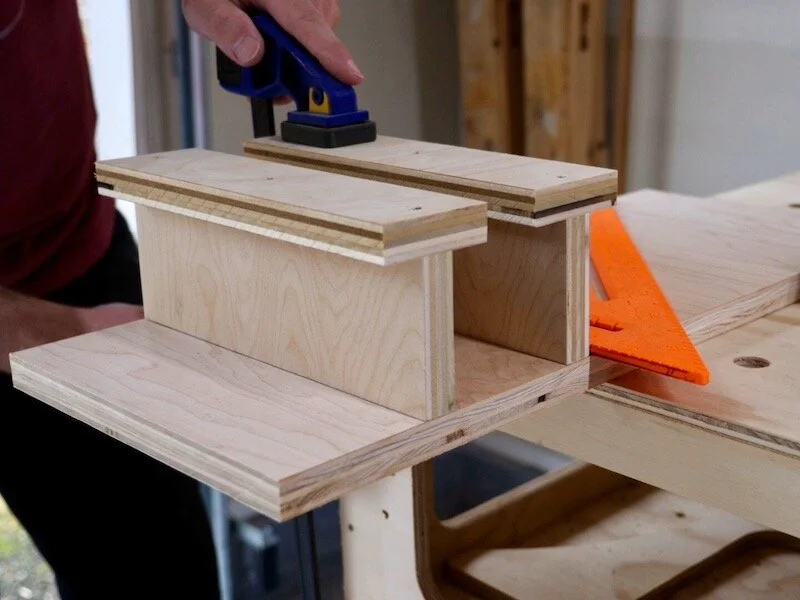
Next, I laid out where the dividers would be mounted on the lower shelf using a speed square. In this design, the dividers are spaced apart three inches but, if I had to do this again, I’d probably add in another ⅛” or so between dividers, just so I could have more flexibility in which tools would fit into these slots in the future.
The first things to actually assemble on the drill charging station were these little t-shaped sections, which are what the tools hang from. The easiest way I found to do this was to use a few pieces of ¾” plywood to help center the piece below, the clamp the pieces down and tack the pieces together with brad nails.
Step 8: Assembling Plywood Drill Charging Station
Once it was tacked together, I came back with more of the trim head screws to make everything permanent.
Next, I could start getting the hangers mounted to the underside of the bottom shelf. I used a square, along with my layout lines from before, to help make sure everything was in the right spot, then I clamped it in place, flipped the whole thing over, and tacked the hanger in place with more brad nails.
I repeated the process for the rest of the hangers, making sure my spacing stayed even, and then I could test the fit.
Everything seemed to fit well except for the impact driver with the magnetic screw holder attached, but I figure I can just hang that tool upside down.

With the fit looking good, I came back and added screws to connect the hangers permanently.
Before attaching the sides to the shelves, I needed to add a ¾” by ¾” strip to the bottom edge of the sides, and this will act as half of the hanger for the two tools at either end of the charging station. Once again, I attached this strip with brad nails and screws.
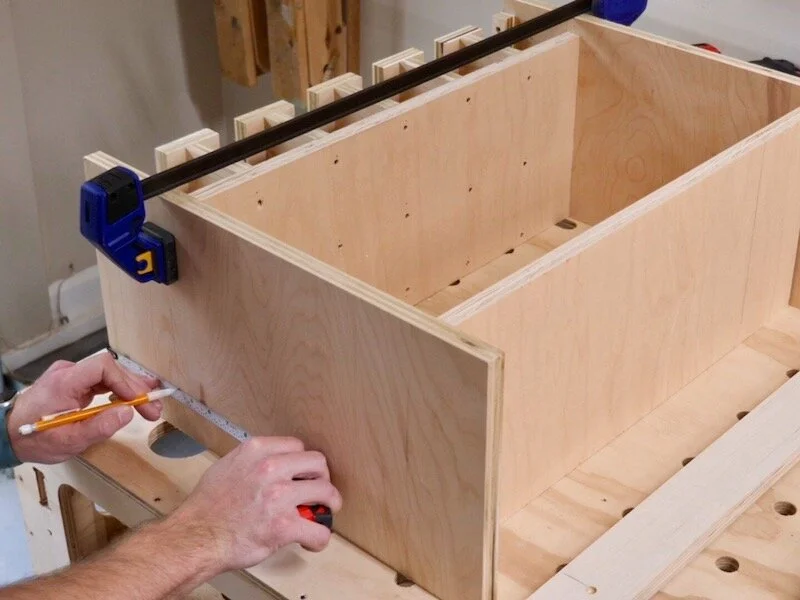
Next, I could get the bottom shelf attached to the sides, and hopefully now you can see what those little strips from the last step were for, basically just completing the hanger structure. I made sure the bottom of the hangers and the bottom of the sides were in line, clamped everything together, and then tacked the parts together.
Once that was done, I could add the two upper shelves, and the spacing on these is completely up to you. I decided to go with one slightly taller shelf for all of my batteries, and one shorter shelf for holding my drill and impact bit sets. Once again, I just tacked everything in place temporarily and then, after deciding everything looked good, I came back and added screws to tie it all together.
Step 9: Adding Shelves To Plywood Drill Charging Station
I didn’t have enough plywood on hand to create a full back panel, so I decided to just add this offcut from the bottom shelf on the workbench as a back panel for the two shelves. That way, stuff isn’t falling off the back of the shelves.
I had planned to mount this charging station using an integrated French cleat so the whole thing sat flush on the wall, but it turned out I didn’t have any plywood strips long enough, so I had to get creative.
Instead of using a French cleat, I ripped a 2x4 down so that it had one square edge and then mounted that at the top back edge of the charging station. This 2x4 gave me plenty of surface area to drive screws through when mounting the charging station to the wall, and I didn’t have to purchase any extra materials.
Finally, I could get the charging station mounted on the wall and, of course, I wanted it to be near an outlet. Unfortunately, the only spot I could fit this charging station with everything organized how I had it didn’t really work.
Step 10: Mounting Plywood Drill Charging Station To Garage Wall

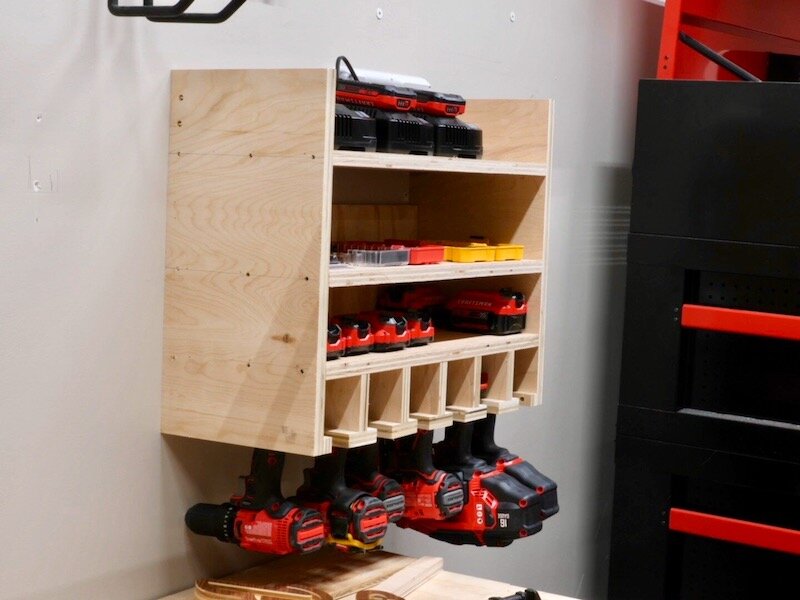
After thinking about it a bit, I took down one of the VersaTrack sections and that opened up the perfect spot for the charging station, right by the outlet and not too high for adding and removing batteries from the chargers on the top shelf.
Once it was mounted, I could spend some time getting the charging station loaded up with my various chargers, batteries, bit sets and, of course, the tools themselves. I also added a power strip to the top edge of the station, so I can have all of the chargers plugged into that, leaving my outlet freed up for other corded tools.
