
How To Build Scrap Wood Wall Art Made From Walnut & Maple
In this video, I build a piece of scrap wood wall art using Maple and Walnut scraps. This simple wooden art project adds a ton of style to any space, and you only need a table saw and pin nailer to make it.
Check out Brad's bent lamination cutting board video here:
Support this week's sponsors!
Thanks to Arrow Fastener for sponsoring this build, if you build something similar, make sure to use the hashtag #MadeWithArrow. Learn more about Arrow Fastener!
Materials Used On Scrap Wood Wall Art:
The links below are affiliate links, from which I get a cut of the sales. They don't cost you anything extra and help to support me!
- Hardwood scraps or 1x2s
- ¾" Plywood
- Arrow Pin Nails: http://amzn.to/2utJpv2
- 1 Quart Waterlox Original Sealer/Finish : http://amzn.to/2srUQDN
- Heavy-Duty Mirror and Picture Hanger : http://amzn.to/2uTait7
Tools Used On Scrap Wood Wall Art:
- Arrow PT23G Pin Nailer : http://bit.ly/arrowcrafted
- SawStop PCS 1.75-HP Professional Cabinet Saw : http://amzn.to/2aqqRyn
- Festool Kapex Miter Saw : http://bit.ly/festooldealers
- Powermatic PJ-882HH 8-Inch Jointer : http://amzn.to/2phphdg
- Powermatic 15HH 15-Inch Planer : http://amzn.to/2phKqE9
Scrap Wood Wall Art Build Process:
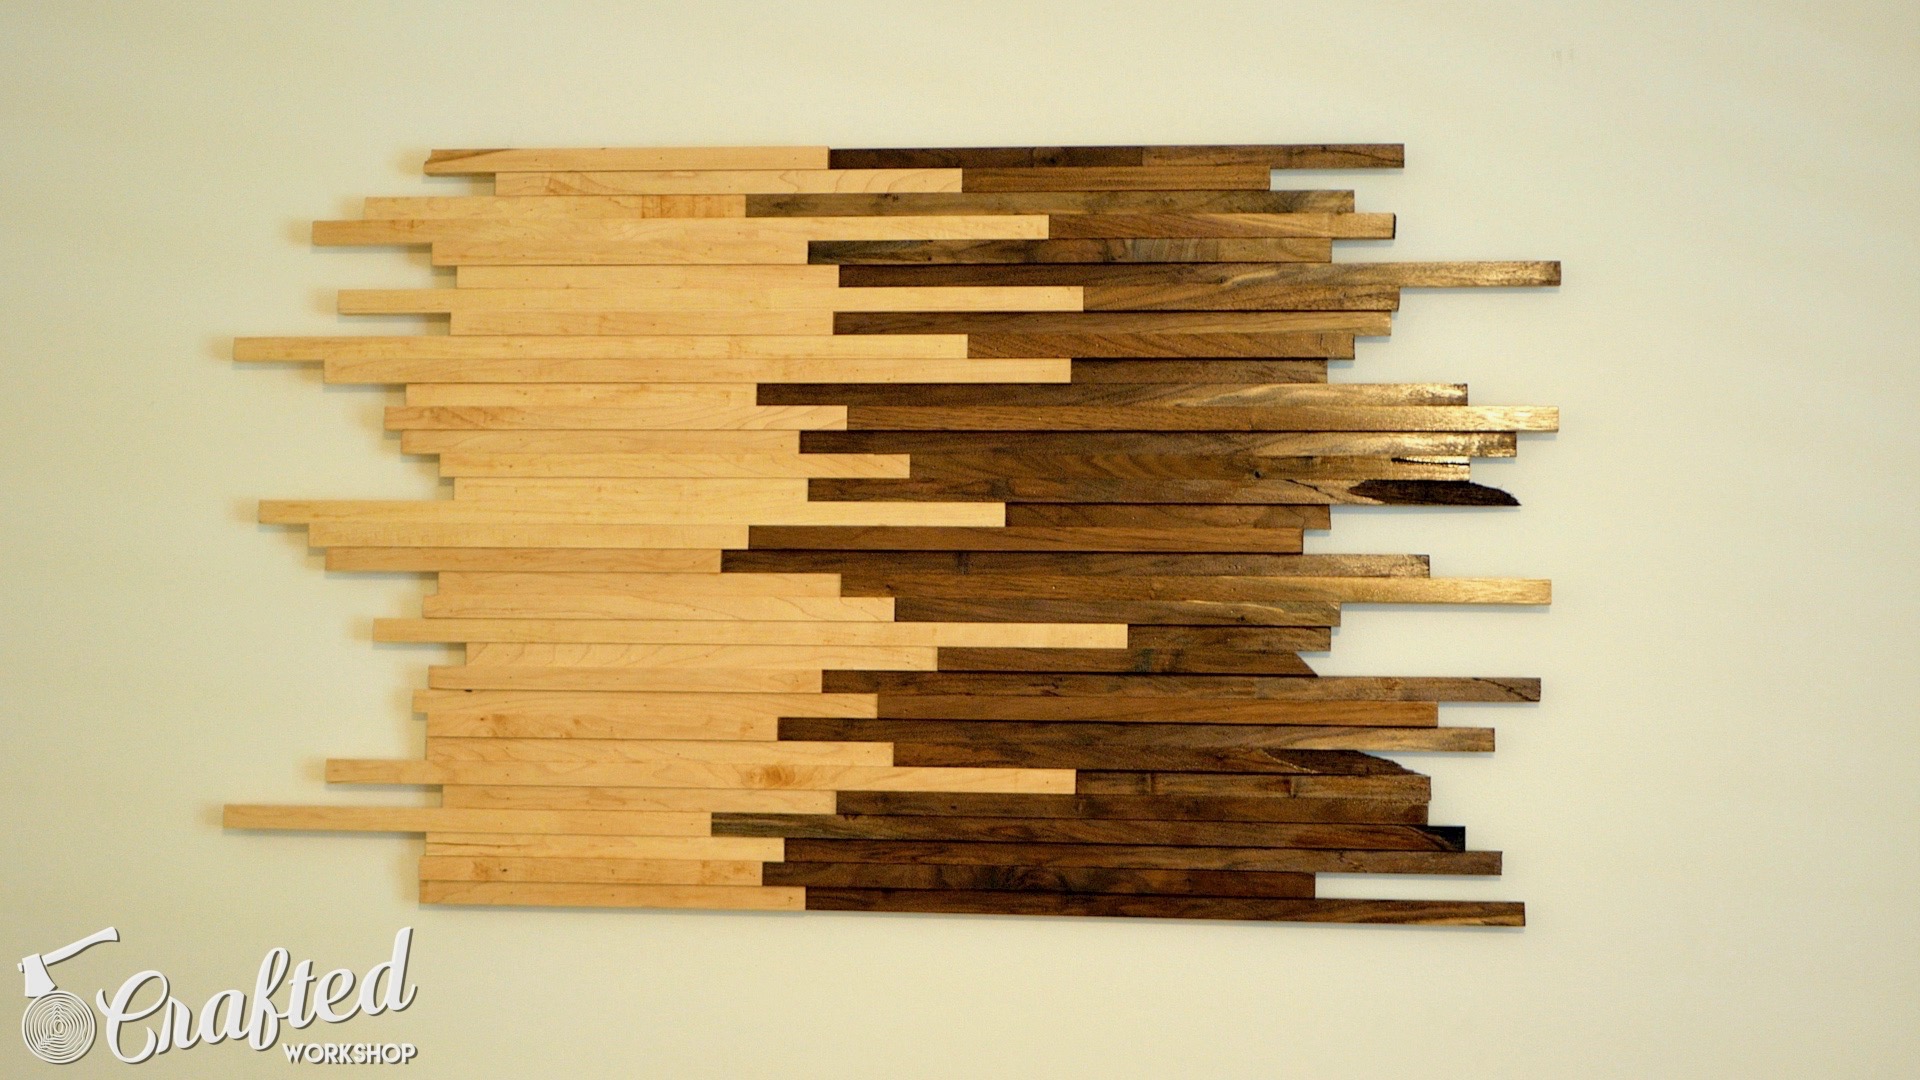
I built this project out of some rough Hard Maple and Walnut off cuts I had been hanging on to, so my first step was milling up the pieces to get two flat faces and one flat edge. If you’d like to build this and you don’t have a bunch of scraps hanging around, you could buy 1x2s or 1x4s from your local home center. If you can’t find Walnut in your area, you could always stain half of the strips to get a similar look.
My Hard Maple pieces were much thicker than I needed, so I started ripping them into strips roughly equivalent to 1x2s.
After ripping the Hard Maple pieces, I started planing all of my pieces, both the Walnut and Maple, down to the same thickness. This thickness will be the width of the strips on the final piece of art, so it was important that they were the same size so that the strips lined up. My pieces were roughly ¾” thick after milling.
The last step before ripping the strips to final size was squaring up one edge on the jointer. This gave me a good reference edge for the table saw.
Next, I started ripping the pieces into strips on the table saw. I started by ripping the Hard Maple pieces in half, roughly 5/8” wide. This gave me two matching strips from each board. The width that you rip the strips at this step will be the depth of the strips on the final piece, since these pieces will be rotated 90 degrees before being fastened to the plywood backer board.
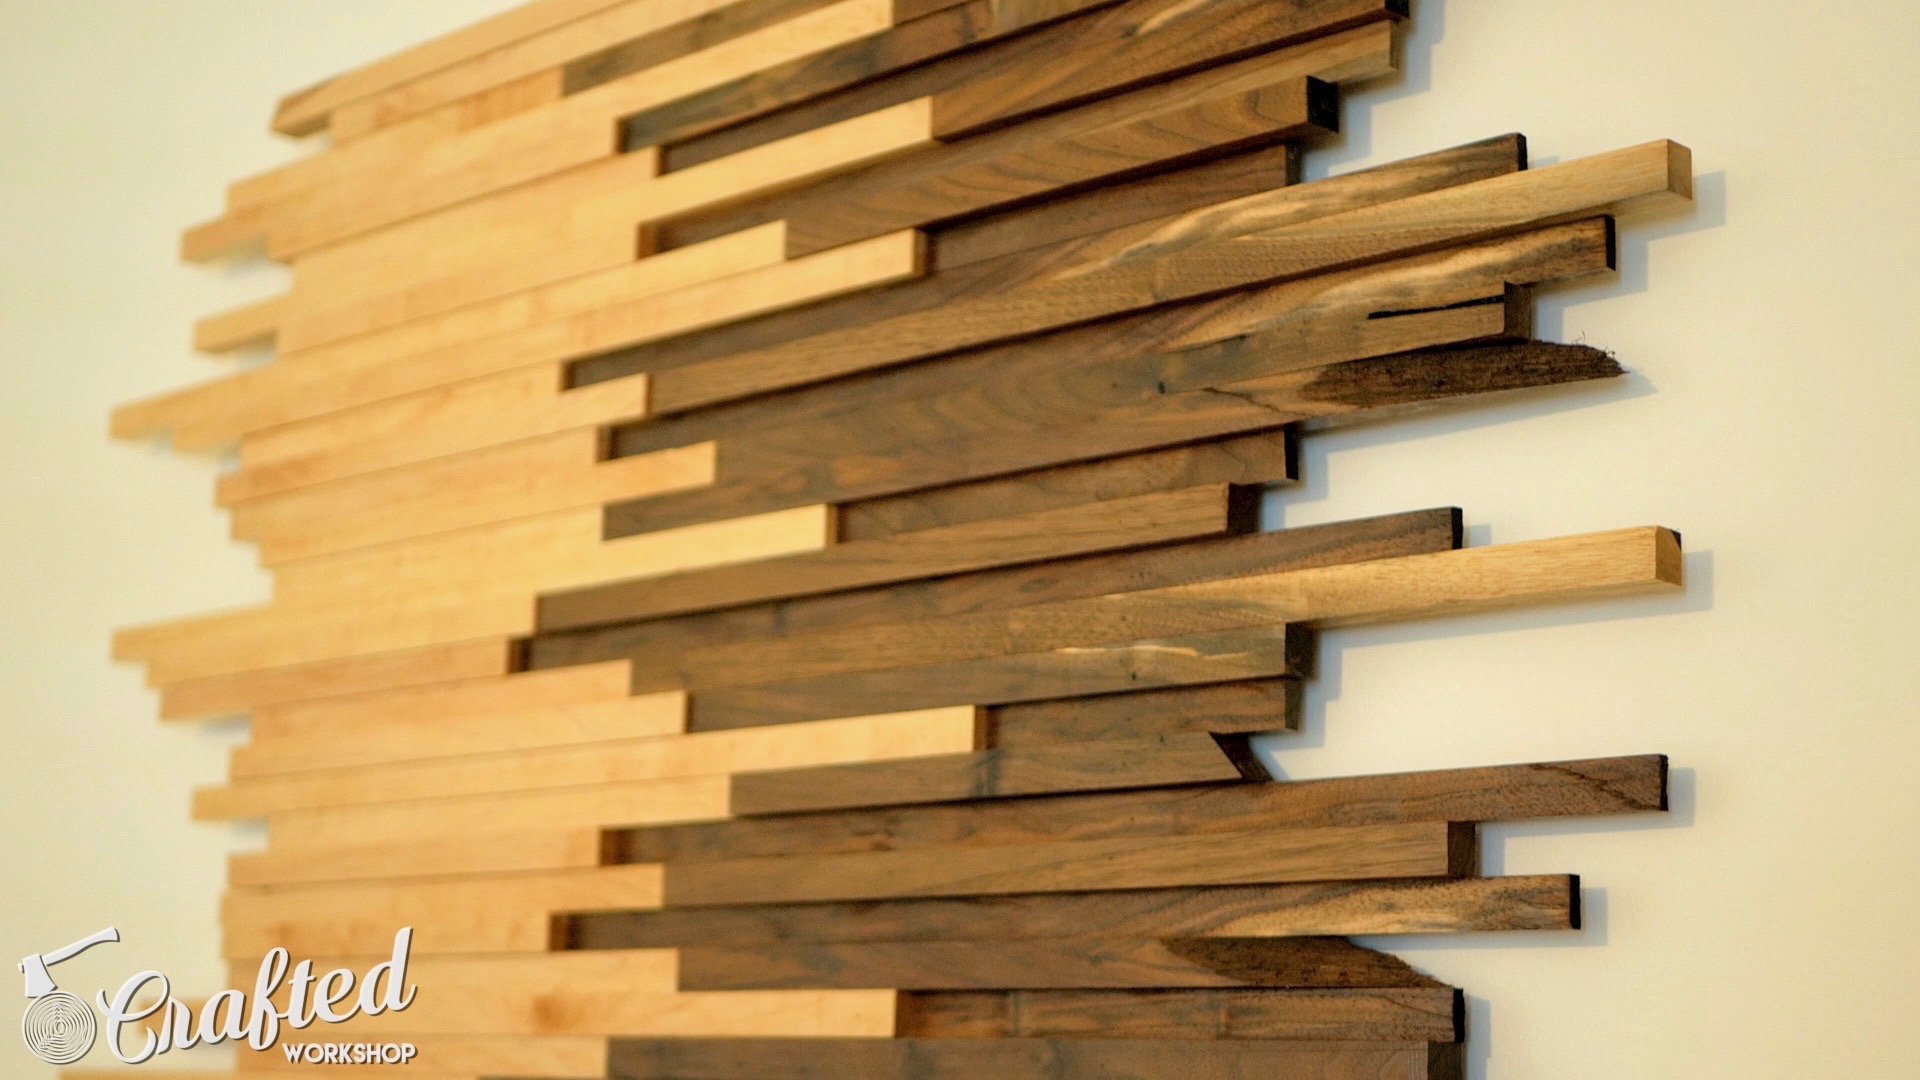
After ripping about half of the strips at the 5/8” width, I moved the fence over 1/4”. Doing this made each strip after ripping two different widths, so this gave me three different sizes of strips. This is exactly what I wanted, because the strips on the final art piece have a staggered depth, which gives the piece a lot more visual appeal. I just kept ripping strips until I ran out of pieces.
Next, I needed to get the plywood backing cut to size. My piece of plywood ended up at about 28” square. First, I cut the piece square, leaving it slightly oversized. After cutting it square, I tilted the blade to 45 degrees and cut a 45 degree bevel on all four edges of the board. Doing this helps to keep the plywood from showing if you look at the final piece from the side. This wasn’t as necessary since my strips overhang so much, but if they didn’t, this would really help keep the plywood from showing.
While I was working on the plywood, my buddy Grant Batson, who you might remember from the Walnut Bar Stool video, who was also hanging out in the shop with us, cut a square end on each of the strips. The strips need to meet up cleanly in the middle of the piece, so each piece needs at least one square end.
With the strips at their final size, I could finally start laying them out. I started by just placing them on the plywood to get a rough idea of where I wanted everything. Once I was happy with the arrangement, I secured each strip using a few pin nails using the Arrow PT23G Pin Nailer.
Arrow Fastener is one of the sponsors of this week’s video, and they make a wide variety of fastening tools including staple guns, nailers, glue guns, riveters, and more. I have a ton of projects featuring Arrow tools coming up, so stay tuned, and if you'd like to learn more about Arrow Fastener, check out their website.
I just kept nailing the strips until I filled up the piece of plywood.
With the strips in place, I gave them a quick sanding and then applied a few coats of Waterlox, another one of this week’s sponsors. Waterlox is a blend of tung oil and resins, and creates a really tough, water-resistant finish that is also absolutely beautiful. The tung oil penetrates into the wood while the resins remain elastic, and this combination holds up to wear extremely well. To learn more about Waterlox, check out their website.
Once I got back home from Brad’s shop, it was time to hang the piece. It ended up being pretty heavy with the plywood and hardwoods, so a normal picture hanging wire wasn’t going to cut it. I found this metal hanging bracket that’s essentially a metal French cleat, and I’ll have a link to the exact item in the video description.
This worked out perfectly, since it’s rated for a 200 pound picture. Installation was easy, first installing the bracket on the back of the art then installing the corresponding bracket on the wall.
The two brackets hook together just like a French cleat, and once the art was hung, the project was done.
Hopefully you enjoyed this simple scrap wood project! While quick to build, the impact this piece makes on the decor of a room is pretty huge. This is definitely one of the focal points in my den where this piece lives.
If you enjoyed this project, make sure to get subscribe to my YouTube channel as well as my email newsletter, using the form below. Thanks, and until next week, happy building!