How To Make DIY Star Wars-Themed Cornhole Boards
Welcome to possibly our favorite build to date, a set of Star Wars-themed cornhole boards. In this Crafted Workshop video and article, we'll walk you through how to build cornhole boards and then how to paint cornhole boards with a spiffy Star Wars paint scheme. Enjoy!
Tools Used in the Cornhole Board Build
The links below are Amazon affiliate links. They don't cost you anything extra and help to support Crafted Workshop. Thanks!
- Dewalt 20V Max Impact Driver : http://amzn.to/1QxJD7w
- Dewalt Random Orbit Sander : http://amzn.to/1QxJUav
- DEWALT FLEXVOLT 120v MAX* 12" Double Bevel Compound Sliding Miter Saw : http://amzn.to/2ah20gS
- SawStop PCS 1.75-HP Professional Cabinet Saw : http://amzn.to/2aqqRyn
- Kreg Jig K4 Pocket Hole System : http://amzn.to/2aINn9T
- Bessey 90 Degree Corner Clamp : http://amzn.to/2aINORF
- Veritas Low-Angle Jack Plane
- DEWALT 20-Volt MAX Jig Saw : http://amzn.to/2ah5U9k
- 6 Inch Hole Saw : http://amzn.to/2aqedpn
- DEWALT DW625 Plunge Router : http://amzn.to/2aqr8kS
- Milwaukee Super Hawg Right Angle Drill : http://amzn.to/2ah4X0M
- X-ACTO #2 Knife : http://amzn.to/2ah6Pa1
Materials Used in the Cornhole Board Build
- PureBond 2' x 4' Maple Plywood Project Panel
- (4x) 8 foot 2" x 4" untreated dimensional lumber
- 1" Pocket Hole Screws : http://amzn.to/2aEohYq
- 2 1/2" Pocket Hole Screws : http://amzn.to/2aqn5VM
- Titebond III Wood Glue : http://amzn.to/1nTQvTs
- Rust-Oleum Painter's Touch Latex, Flat Gray Primer : http://amzn.to/2aqaRCH
- Rust-Oleum Painter's Touch Latex, Gloss Black : http://amzn.to/2aNt8WV
- Rust-Oleum Painter's Touch Quart Oil Based, Metallic Silver : http://amzn.to/2aqb9te
- FrogTape Painter's Tape : http://amzn.to/2ah16RG
- (4x) Carriage Bolt, 3/8-Inch X 4-Inch : http://amzn.to/2arq0AM
- (4x) Fender Zinc Washers, 3/8-Inch x 1-¼-Inch : http://amzn.to/2atoChk
- (8x) Hex Nut, 3/8-Inch by 16-Inch : http://amzn.to/2arqjf9
- Foamboard : http://amzn.to/2aIQL4z
- Valspar Outdoor Spray Paint : http://amzn.to/2arqNla
- (8x) Corn Filled Regulation Duck Cloth Cornhole Bags : http://amzn.to/2adNDhG
Star Wars Cornhole Boards Build Process:
The first step in building a set of cornhole boards is to cut the pieces for the frame and legs of your board. I used four 8 foot long 2x4s for this build, but you could just as easily use 1x4s if you wanted to reduce the weight a bit. To see the plans I used for this build, click here. You need four pieces at 48 inches, four pieces at 21 inches, two pieces at 18 inches, and two pieces with a 25 degree angled cut at 11 ⅛ inch.
The 48 inch pieces will make up the long edges of the frame, the 21 inch pieces will be the short edges of the frame, the 18 inch pieces will connect and brace the legs, and the angled cuts will be the legs.
After making your cuts, an optional step is to cut off roughly half an inch from each 2x4. This leaves you with a perfectly flat surface on one side of the 2x4 which, when attached to the plywood, will form a clean, seamless edge. If you don’t have access to a table saw or bandsaw, you can easily skip this step.
Also, you could make this cut before cutting the individual pieces, but I found the 8 foot long 2x4s to be a little unwieldy, especially since most of them were slightly bowed, and I found it easier to cut them after they were broken down.
Next, drill the vertical pocket holes in the pieces of your frame that will attach to the plywood top. If you don’t own a pocket hole jig, you could just as easily screw the plywood top onto the frame through the top, but this leaves screws showing unless you countersink and fill the holes. I set the depth on my pocket hole jig to ½” and set the collar on the bit to ½”. I’m actually not 100% sure that this was the right setting, but it worked fine. I used 1” pocket hole screws and the top seems to be very secure, and the glue does most of the work anyway.
I also used pocket holes to build the frame; I set the depth of the jig to 1 ½”, since that’s the actual thickness of a 2x4, and used 2 ½” screws as recommended by the jig’s manual.
Assembling Your Cornhole Boards
After drilling all of your pocket holes, assemble the frame using 2 ½” pocket screws and glue. Right angle clamps are extremely helpful here.
Once the frame is assembled, attach it to the plywood top using 1” pocket screws. Don’t go crazy tightening these screws, as you risk punching through to the top. Just tighten them enough to close the gaps. You can also use clamps here to help tighten things up.
After the glue dries, flush up the edges of the frame with the edge of the plywood. They shouldn’t be off by much, if at all, but, if they are, you can use a belt sander, a router with a flush trim bit, or what I used, a jack plane. This Veritas low angle jack plane is perfect for this task and flushed up the edges in no time. Once that’s done, go over the edges with sandpaper, starting at 80 grit and working up to 220. I also slightly round the corners of the board with the sander.
Once your hole is cut, you can use a router with an ⅛” radius roundover bit to break the edges of the plywood and the hole, then give the entire board a final sanding. Depending on the quality of your plywood, it probably won’t need much more than a few passes with 120 grit then 220 grit sandpaper.
Cutting The Hole Or: The Hardest Part Of Building Cornhole Boards
You have a few options when cutting the 6" diameter hole needed in the top of the cornhole boards. Option #1, and probably the most common option, is to use a jigsaw. The issue with using a jigsaw is that you'll never get a perfectly round hole. A flat blade cutting a round hole just won't do it, especially considering that you're cutting the hole freehand. That said, most woodworkers have a jigsaw in their shop, so it's a cheap way to get the job done.
Option #2 is to use a 6 inch holesaw to cut the hole. This will give you a perfect 6" hole, but there are a few potential issues. The first is that a 6" holesaw is expensive, around $40. The second issue is that you need a drill with a lot of torque. Cutting a 6" hole is no easy task. I used a Milwaukee Super Hawg right angle drill, which is basically designed with this type of job in mind.
Option #3 is to use a router and a circle cutting jig. This is a great option if you already own a router, as you can build a circle cutting jig from shop scraps for nothing. It will also give you a perfect, clean cut.
The choice is yours and really depends on how well-equipped your shop is and what tools you own. PureBond actually just came out with a 2' x 4' panel with the hole already cut, if you are lacking in the tool department. Make your choice, get the hole dealt with, and let's get on with the build.
Building The Legs For Your Cornhole Boards
Next, mark the placement of the holes on the legs. Mark the vertical center, which is 1 ½” from the side assuming you squared one edge of the 2x4, which makes it 3” wide. Measure 1 ½” from the top edge of the leg. Use a center punch or smaller drill bit to mark the exact hole placement. This will help to keep the bit from wandering when you drill the holes.
Using a ⅜” drill bit, drill the holes through the legs. You want this hole as close to perpendicular as possible, so use a drill press if you have one.
After drilling the holes in your legs, it’s time to drill the corresponding holes on your cornhole board. Measure 3 9/16” from the top edge of the board and then 1 ½” from the side of the board. Again, use a center punch to keep the drill bit from wandering, then drill your hole. You can actually use the hole in the leg to help guide the bit and keep it perpendicular.
Now it’s time to shape the legs so that they can move freely once attached to the board. You can trace out a 3” radius, using the hole you drilled in the leg as the center point, and then cut out the radius using a jig saw. Or, you can cut two 45 degree angles on the piece that fall within that 3” radius, cutting off the point as well. This gives you the same free range of motion on the legs and takes way less time than the jig saw method.
The legs will theoretically be a little less stable, but they don’t need to hold a ton of weight, just the weight of the bags, and my finished boards feel super stable. Finish assembling the legs by attaching the center support piece with pocket screws and glue.
How To Paint Your New Cornhole Boards
At this point, the cornhole board itself is complete. Now it’s time for paint! The first step in the paint job was priming the boards and then putting down a base of black paint. I used inexpensive latex paint for this project and the finish turned out great. Not sure how it will hold up to abuse, but I’ll report back on that once we’ve used them.
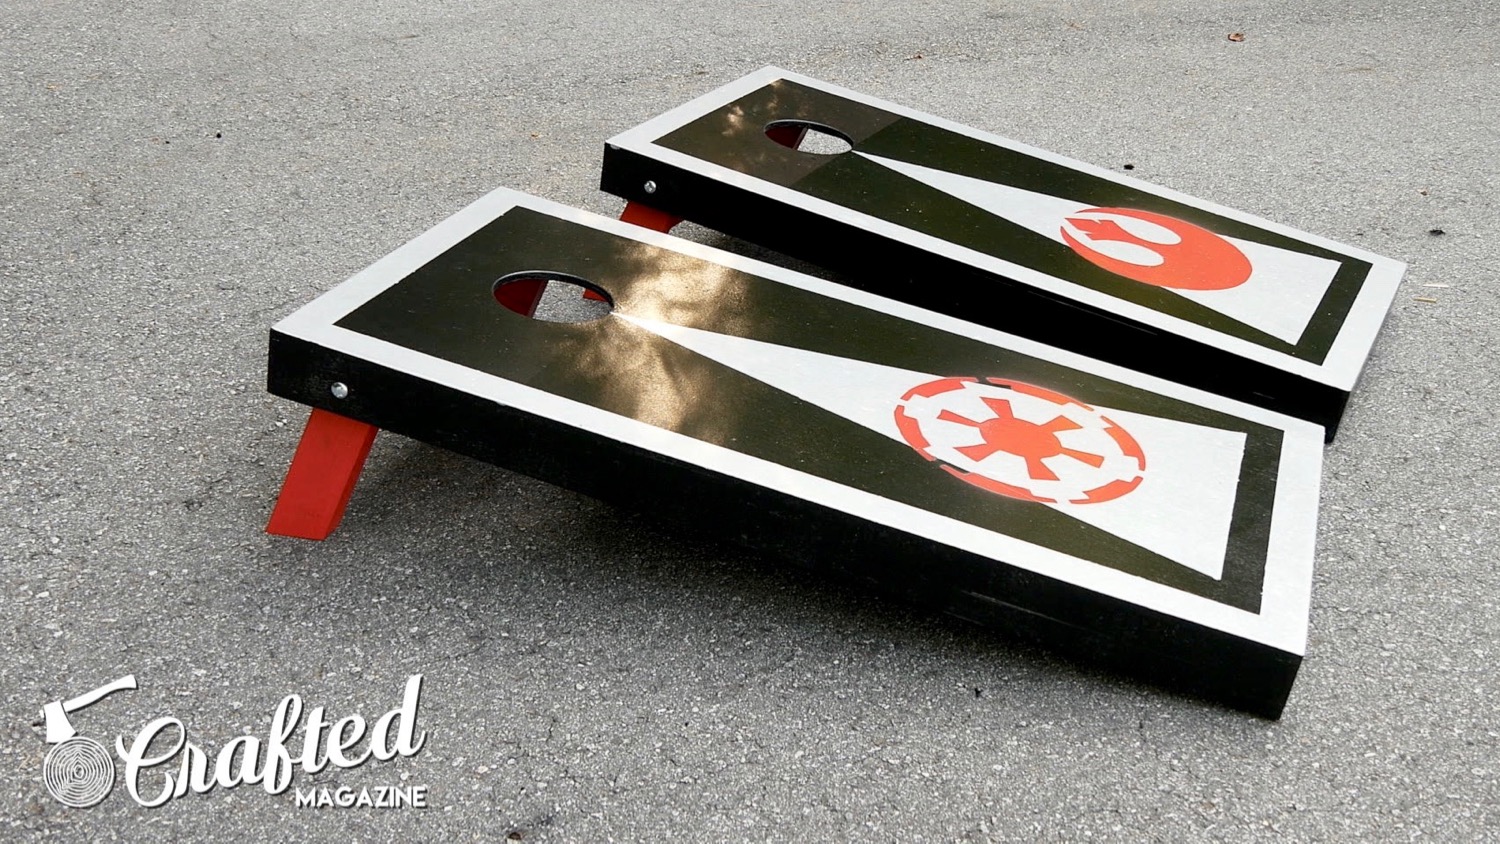
Once you’ve got your boards coated with a layer of black and the paint has dried, it’s time to mask off the areas where you want to paint the accent color. I decided I wanted a 2” border around the edge of the boards, as well as a large triangle in the center of the boards. I marked the 2” border then taped it off, and then just used the border as a reference for the triangle, aligning the top point of the triangle with the center of the hole and the bottom point with the inside edge of the taped border. I cut away the excess tape using a square and a knife. I also masked off the edges of the board, which ended up being lucky, as the silver paint I used was extremely runny.
Next, I laid on a layer of silver paint, making sure to get a even coat edge to edge. The paint I used had extremely good coverage, so it wasn’t difficult to block the black color beneath. A link to the exact paint I used is in the materials list at the top of this post.
I let the paint dry for about 30 minutes and then peeled off the tape while the paint was still slightly wet. This gives you cleaner lines that are less prone to tearing. My lines weren’t absolutely perfect, but they were pretty darn close.
Creating Your Stencils
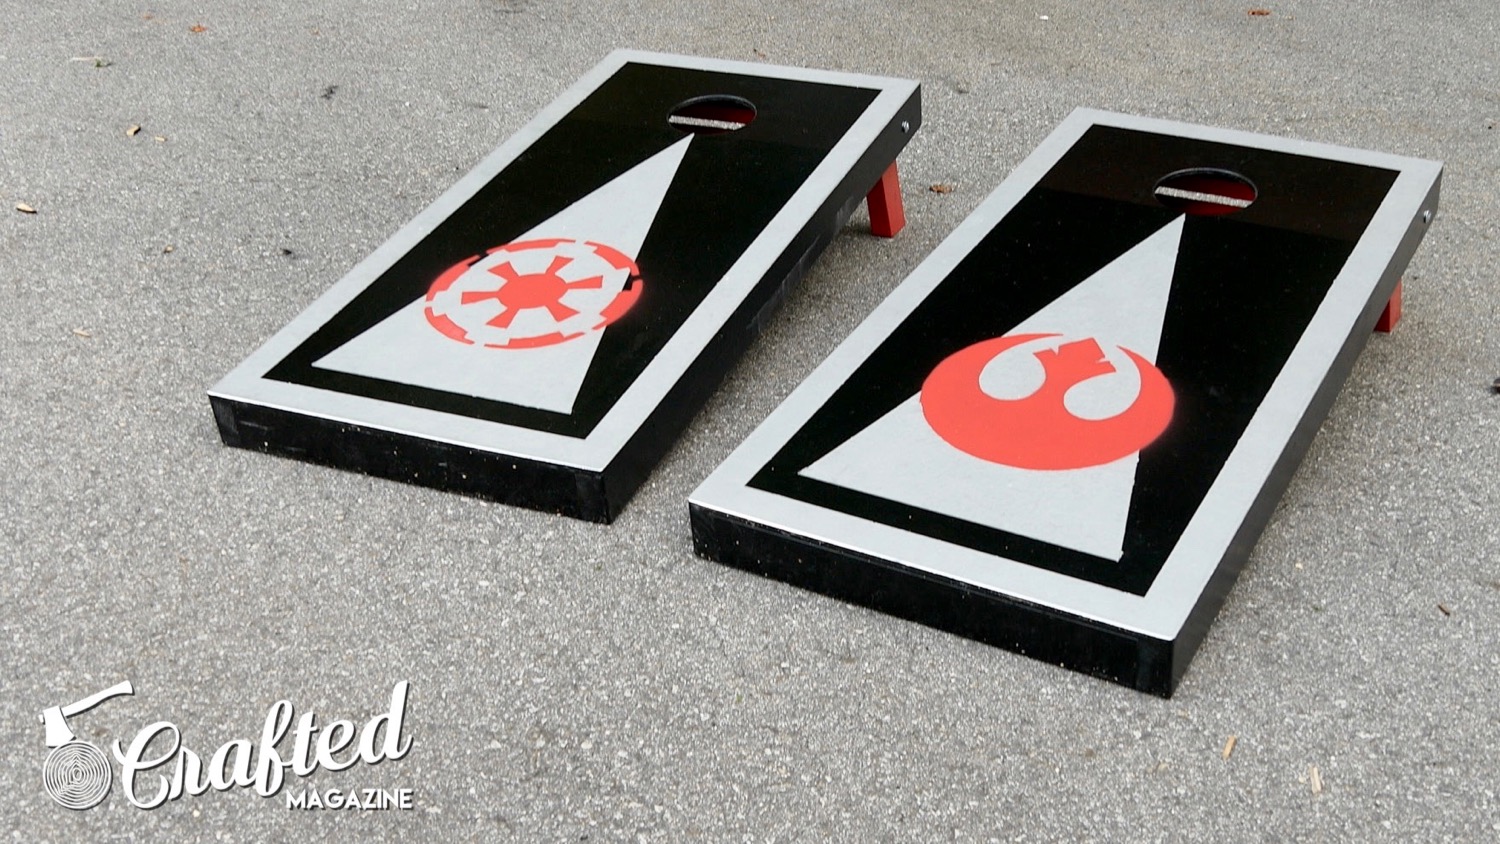
Finally, time for the pièce de résistance, the Star Wars stencils! I found stencil outlines of the Rebel Alliance icon and Galactic Empire icon online and printed them out across four pages. I thought this was a cool idea, as you can choose to play as the Rebels or the Empire.
I just used Microsoft Excel to do this, but Matthias Wandel has a program called BigPrint that is designed just for this task. However, it unfortunately isn’t available for Mac. I cut off the excess white areas of the printed stencils and used spray adhesive to attach them to a piece of foam core board.
I then cut out the stencils using an X-ACTO knife. Make sure to take your time here and really try to follow your lines. Keep them as clean as possible. After you’re finished cutting out the stencils, look over the edges and clean up any fuzzy bits. These will show through on the final painted design.
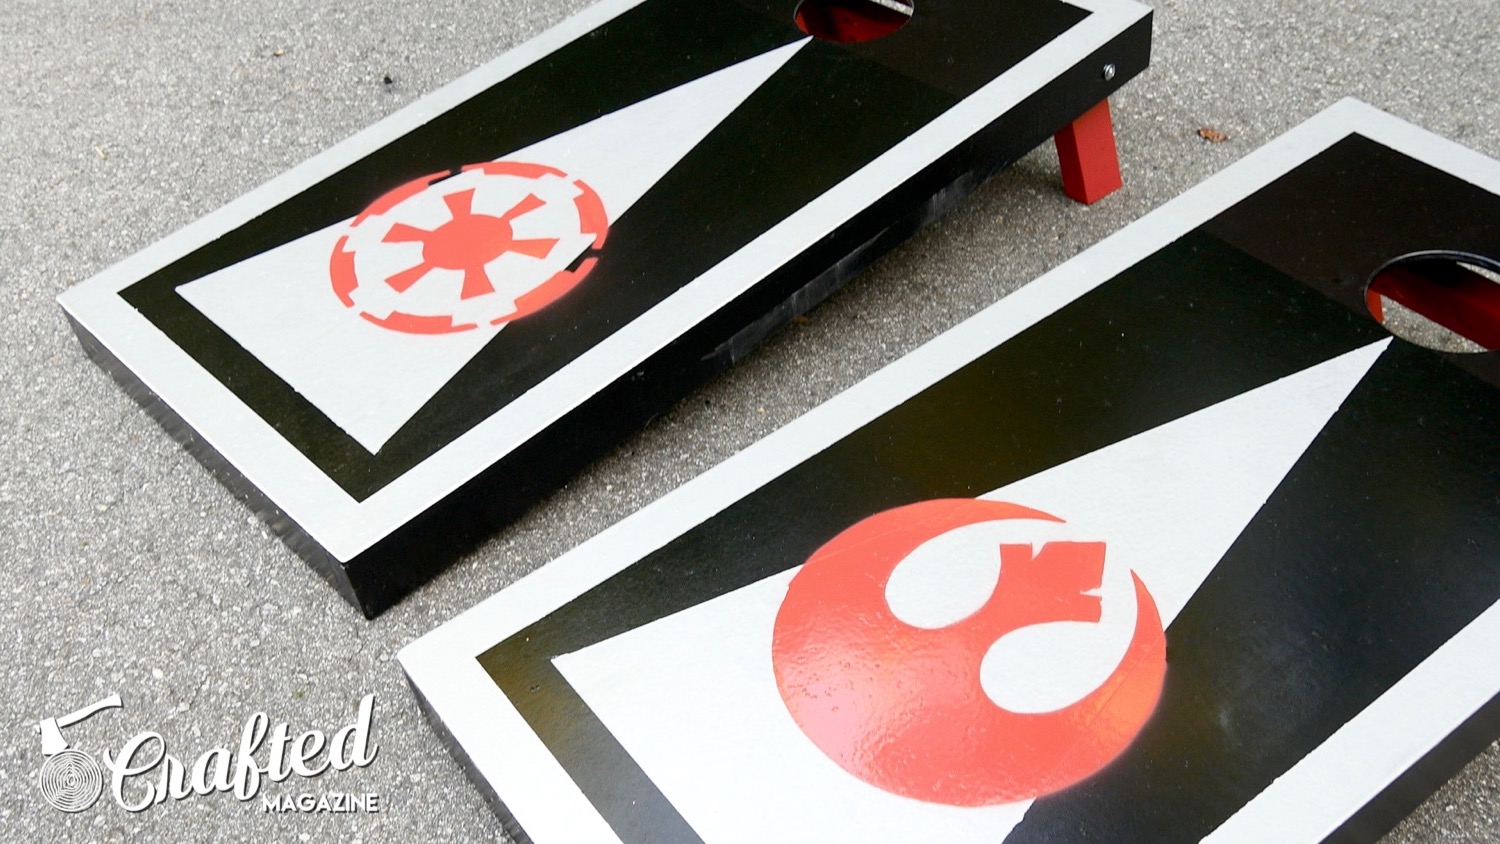
Next, lay your stencil on top of your cornhole boards, protecting from overspray if needed, and then spray a few light coats of paint. The key to good stencils is using a thick material for the stencil that will hold its shape well and also doing several light coats of paint to avoid drips. Remove your stencil and admire your work!
Attaching Your Legs To Your Cornhole Boards
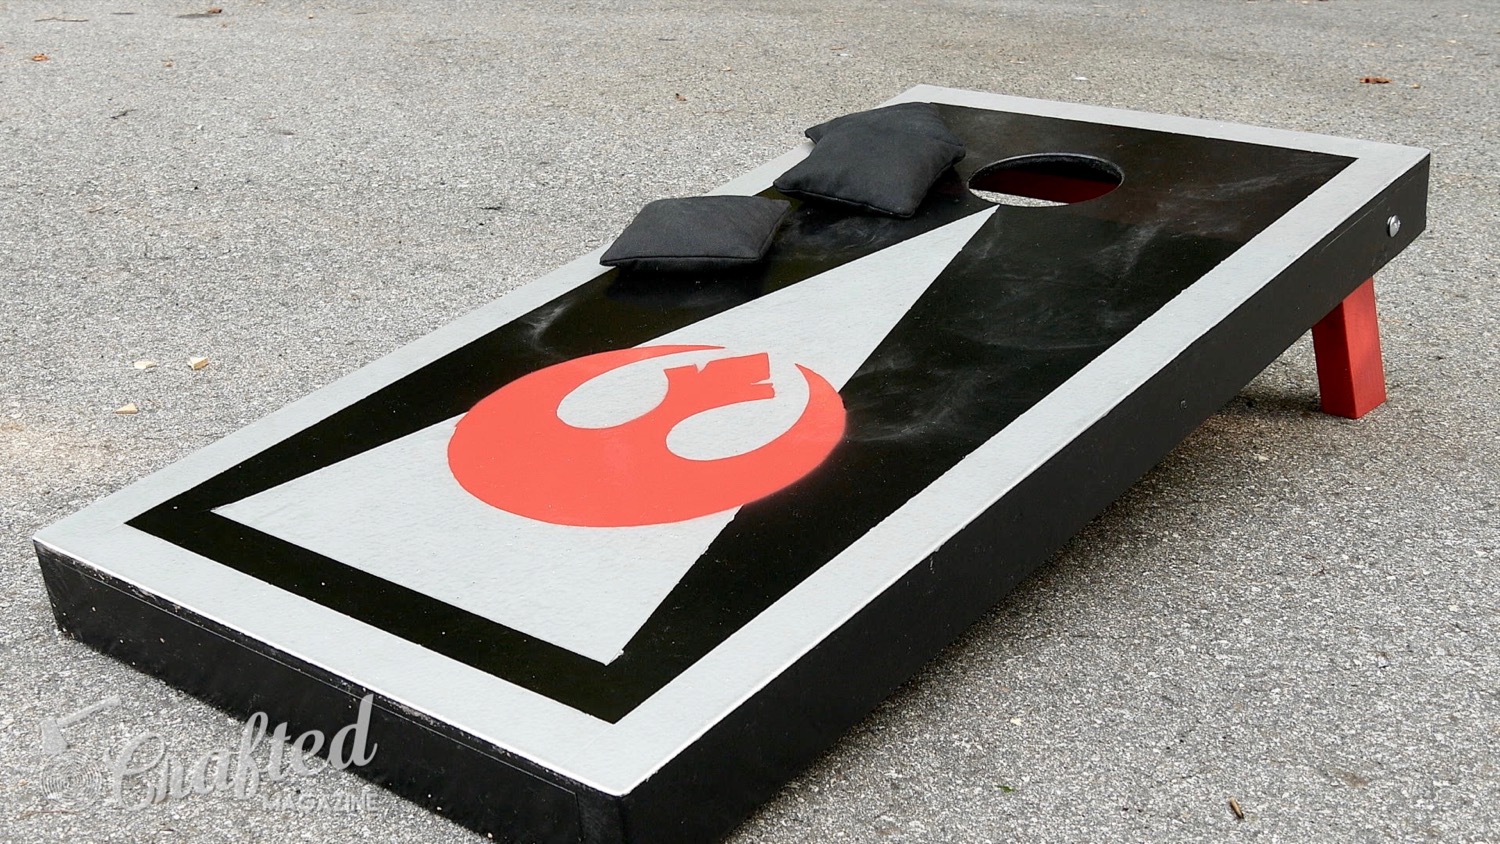
Paint your legs using your choice of paint, allow them to dry completely, and then attach them to your boards using 4” long x ⅜” carriage bolts, fender washers, and nuts.
Use two nuts and lock them against each other by tightening them towards each other. This will keep them in place and will keep you from having to put too much tension on the legs using a lock washer or something similar. Once your legs are attached, you’re done!
This was quite the build process. I really wasn't anticipating building a set of cornhole boards to be this much work, but this was a fairly intense project. This was, by far, the most complex paint scheme I've ever done, and I couldn't be more proud of the final result. Enjoy the gallery below.
Star Wars-Themed Cornhole Boards Gallery