
Building the Jay Bates Miter Saw Station Part 1
In this two part video series, I tackle building the Jay Bates Miter Saw Station. Jay Bates is a fellow woodworking YouTuber with just a few more subscribers than us ;) ! His plans for this project are awesome and I highly recommend you purchase a set for yourself if you're interested in this build. You can find them here.
I purposely didn't go into a ton of details on the measurements of the build as I didn't want to infringe on Jay's work. This is meant to be more of a "see it being built" video, not a completely detailed step-by-step tutorial. Let's get on to the build!
Tools Used in the Jay Bates Miter Saw Station Build
The links below are affiliate links that help to support Crafted Workshop. Thanks!
- DEWALT DWE7491RS 10-Inch Jobsite Table Saw : http://amzn.to/1SDzgyd
- DEWALT DWS780 12-Inch Double Bevel Sliding Compound Miter Saw : http://amzn.to/1VET36b
- DEWALT DCS391B 20-Volt MAX Li-Ion Circular Saw : http://amzn.to/1SDzs0a
- DEWALT DCK290L2 20-Volt MAX Li-Ion 3.0 Ah Hammer Drill and Impact Driver Combo Kit : http://amzn.to/1pPNh3t
- Micro Jig GR-100 GRR-Ripper : http://amzn.to/1SDA5ac
- Oneida Air Steel Dust Deputy Deluxe Kit : http://amzn.to/1QFLx2J
- Oneida Air Molded Mini Gorilla HEPA Dust Collector : http://bit.ly/oneidaair
- Kreg Jig K4 Pocket Hole System : http://amzn.to/21k0E9V
- Kreg KHC-RAC Right Angle Clamp : http://amzn.to/1SDAtFN
- FastCap Glu-Bot Glue Bottle : http://amzn.to/1SDAt8y
The Jay Bates Miter Saw Station Build Process
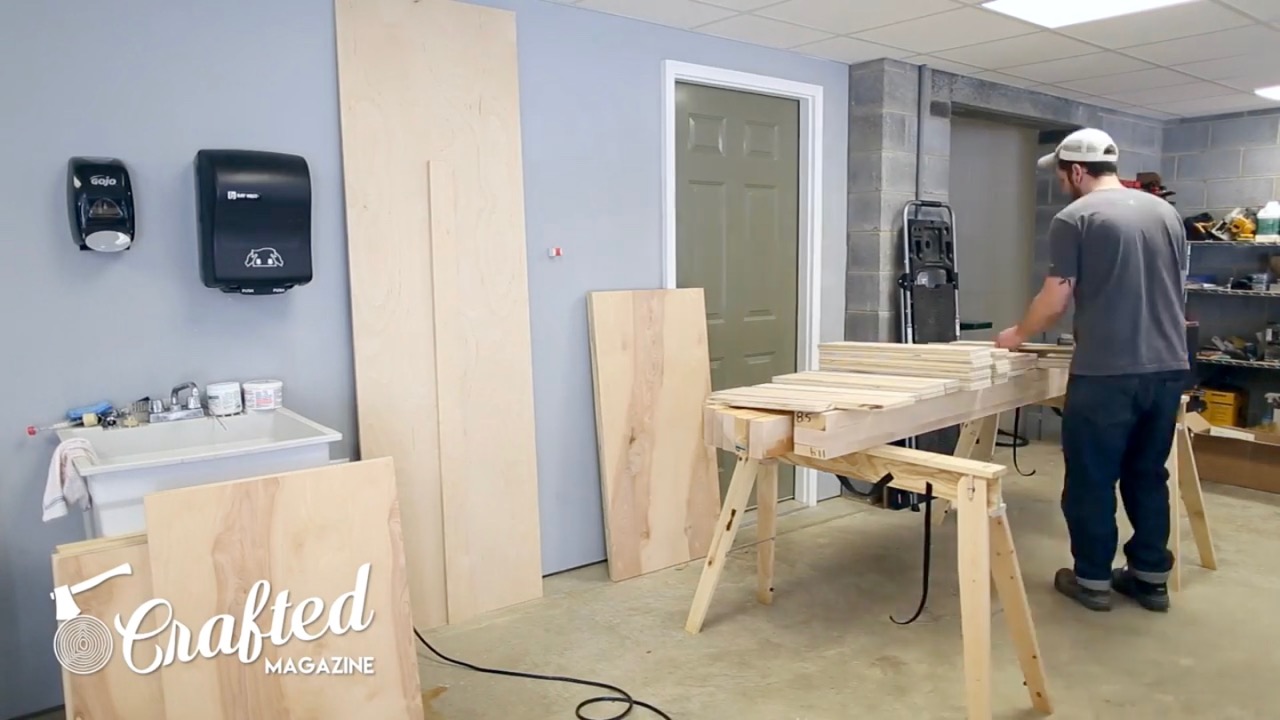
The first step in this project was breaking down the 12 sheets of plywood required for this cabinet system. I used Purebond plywood for this build, which is an American made plywood made right here in North Carolina. Purebond is formaldehyde free and uses soy-based glues, and the quality was top notch. I appreciate them providing the wood for this build, and we’ll definitely continue to use their plywood in the future. If you’d like to purchase Purebond for your next project, it’s available exclusively at Home Depot.
To breakdown the plywood, I used a combination of my Dewalt Jobsite table saw, circular saw, and miter saw. I also converted a bar table I had purchased from IKEA into an outfeed table, and this was absolutely essential for breaking down these sheets of plywood safely and efficiently.


I numbered every piece I cut along the way so, when it came time to assemble, all I had to do was sort through the pile of cut pieces and lay them out for assembly.

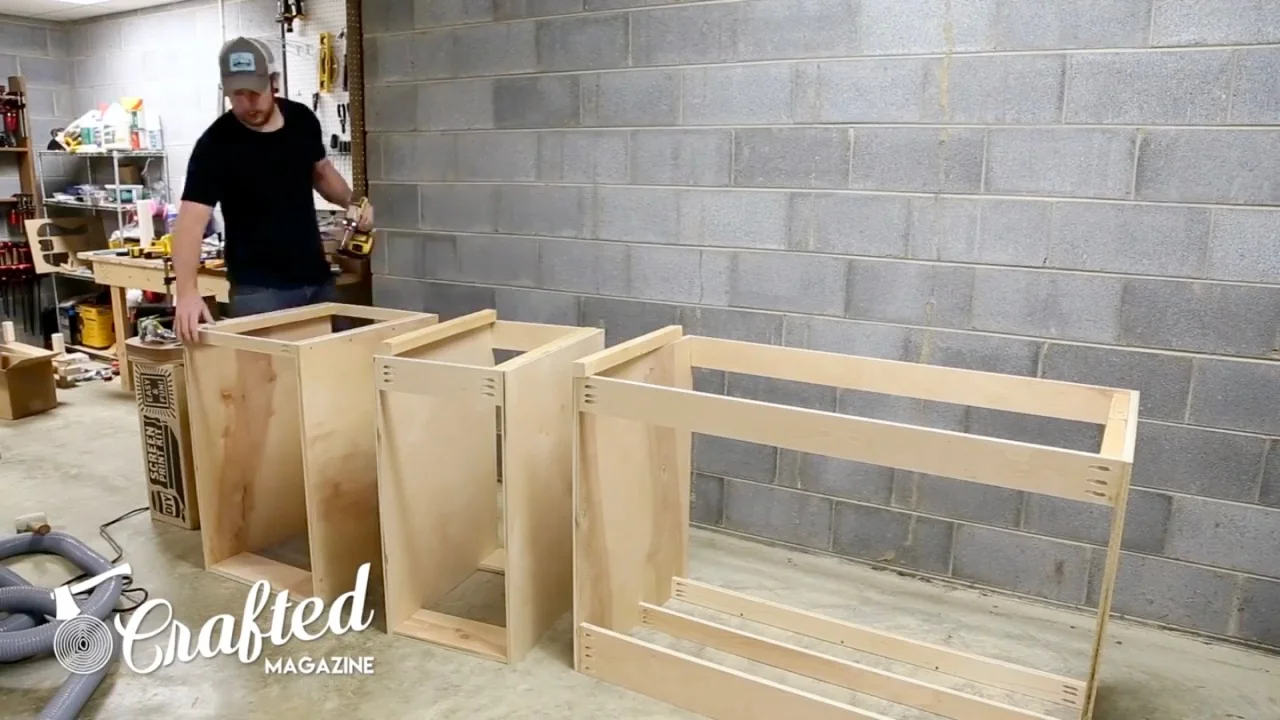
I started by assembling the base cabinets. All of the cabinets in this build are assembled using pocket holes, which create a strong joint that is quick and easy to create. I used the new Fastcap self-centering pocket hole screws and these worked extremely well. The rubber washers on the screws really helped to keep the screws in place. I also can’t recommend enough the Kreg Right Angle Clamp, these were super helpful.
As you might have noticed, I assembled the base cabinets incorrectly in the beginning, with a few of the boards oriented in the wrong direction. Pay no attention to my incorrect assembly and follow Jay’s plans.


This was also my first project using the Fastcap GluBot, and I really can’t believe I didn’t purchase this sooner. It makes applying glue much easier.
After I finished the base cabinet carcasses, it was time to clear out the space for the new miter saw station. I’ve been using the Fastcap Best Fence Pro 3 system for the past few months and absolutely love it, but I don’t need the portability as 99% of the time I’m working in my shop, not on a job site. I’ll be letting my father-in-law borrow for Pro 3 system in the meantime, as he does a lot more work where mobility is needed, like building decks and porches.

I also needed to remove the pegboard on the wall. This was already installed when we bought this house, so I didn’t know what to expect when I removed it. I was happy to find a very clean installation, and I will be putting this pegboard back up behind my workbench in another part of my shop.
Next, I cut the pieces which support the base cabinets on the miter saw. These are attached using glue and screws through the sides of the carcasses.

To install the leveling feet, drill a hole for your T-nut and thread in a carriage bolt. Jay’s plans recommend using galvanized bolts but I had a hell of a time threading the galvanized bolts into the T-nuts. I switched to stainless bolts and they worked flawlessly.


After installing the feet, I started building the drawers for the bottom cabinets. My modified version of this project has 18 drawers in total, so this was a very time consuming process. The drawers are assembled using pocket holes and glue for the frames and screws and glue for the bottoms. I installed drawer hardware along the way. I used BLUM Standard drawer slides on this build, model 430E. These are the 24” drawer slides, and they have over an inch of over-extension, so you can access the back section of the drawers with no problem. These also have a 100 lb weight limit and are extremely smooth. They’re a bit tricky to install since they’re bottom mounted but once I got it down, it was a fairly simple process.


You definitely want to go ahead and install your drawer slides on the bottom cabinets before adding the work surface. Drawer slides are much easier to install when you can move the cabinets around and have full access to the inside of the cabinet.


I think this is where I’m going to leave you for Part 1 of the Jay Bates Miter Saw Station build. Part 2 is here for your enjoyment. Stay tuned and make sure to subscribe to our YouTube channel in the meantime!