
Building the Jay Bates Miter Saw Station Part 2
Tools Used in the Jay Bates Miter Saw Station Build Part 2
Note : the links below are affiliate links.
DEWALT DWE7491RS 10-Inch Jobsite Table Saw : http://amzn.to/1SDzgyd
DEWALT DWS780 12-Inch Double Bevel Sliding Compound Miter Saw : http://amzn.to/1VET36b
DEWALT DCK290L2 20-Volt MAX Li-Ion 3.0 Ah Hammer Drill and Impact Driver Combo Kit : http://amzn.to/1pPNh3t
DEWALT DCS331B 20-Volt MAX Li-Ion Jig Saw : http://amzn.to/1rKdx0o
Micro Jig GR-100 GRR-Ripper : http://amzn.to/1SDA5ac
Oneida Air Steel Dust Deputy Deluxe Kit : http://amzn.to/1QFLx2J
Oneida Air Molded Mini Gorilla HEPA Dust Collector : http://bit.ly/oneidaair
Kreg Jig K4 Pocket Hole System : http://amzn.to/21k0E9V
FastCap Glu-Bot Glue Bottle : http://amzn.to/1SDAt8y
Woodpecker's SERX Straight Edge Rule 36" : http://www.woodpeck.com/serx36.html
Bessey WS-1 3" Corner Clamp : http://amzn.to/1rKdqCc
Incra MITER1000SE Miter Gauge : http://amzn.to/27IXi4S
Jay Bates Miter Saw Station Part 2 Build Process
The first step of part 2 was leveling the base cabinets. My garage floor had a decent amount of slope from left to right so this took a little longer than expected.

jay bates miter saw station
After leveling the cabinets, I mounted the work surface supports to my wall. These supports are 2x2 pieces that were screwed into my garage wall using Tapcon masonry screws. I used one screw every 16 inches.

jay bates miter saw station

jay bates miter saw station
The next step was to add the work surface on top of the base cabinets and supports and to attach the work surface using 1 ¼’ screws. I flushed up the edges of the cabinets and attached them to the work surface from beneath.

jay bates miter saw station
Next, I cut the hole for the dust collection port. I started the hole with a self-feeding forstner bit and then cut the rest of the hole with a jig saw. I am terrible at using a jig saw, so this was harder than expected. If you have any jigsaw tips, let me know.

jay bates miter saw station
Next, I attached the top cabinet carcasses to each other with 1 ¼” screws then attached the side wings, which help with dust collection, with pocket holes. I also attached the top support pieces, which are also attached with pocket holes. Lastly, I attached the fence backing pieces using 1 ¼” screws.

jay bates miter saw station

jay bates miter saw station
The next step was adding the top pieces. These are attached with a few 1 ¼ screws through the top. As you can see, I accidentally cut one of my top pieces in half by not following my cut diagram, so I had to end up making up for it with two pieces instead of one. This worked out fine in the end.

jay bates miter saw station
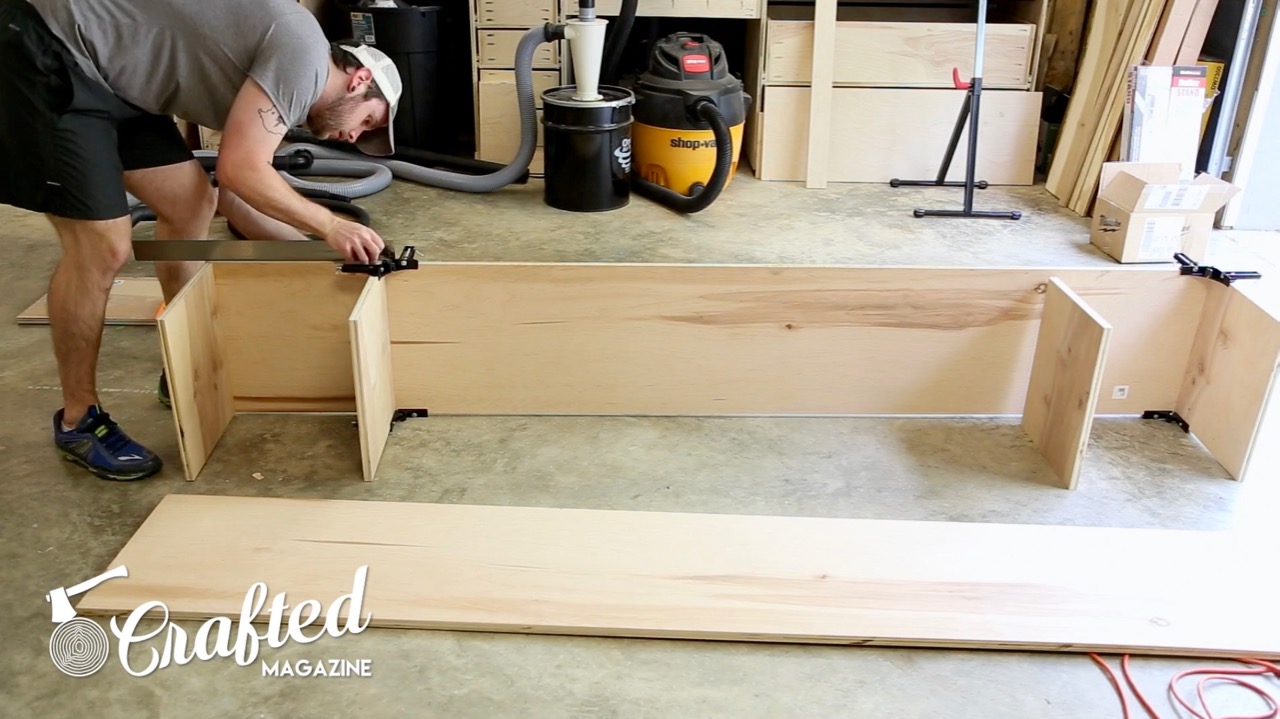
I then built the top cubby system, which was simply a long box with dividers. These Bessey 90 degree corner clamps helped quite a bit. I used 1 ¼” screws and glue and made sure to predrill the holes since you’re going into plywood end grain. I attached the back in the same manner, with a bunch more screws than were probably necessary. After getting the cubby on top of the miter saw station, I secured it with a few 1 ¼” screws through the bottom of the cubby.
jay bates miter saw station

jay bates miter saw station

jay bates miter saw station
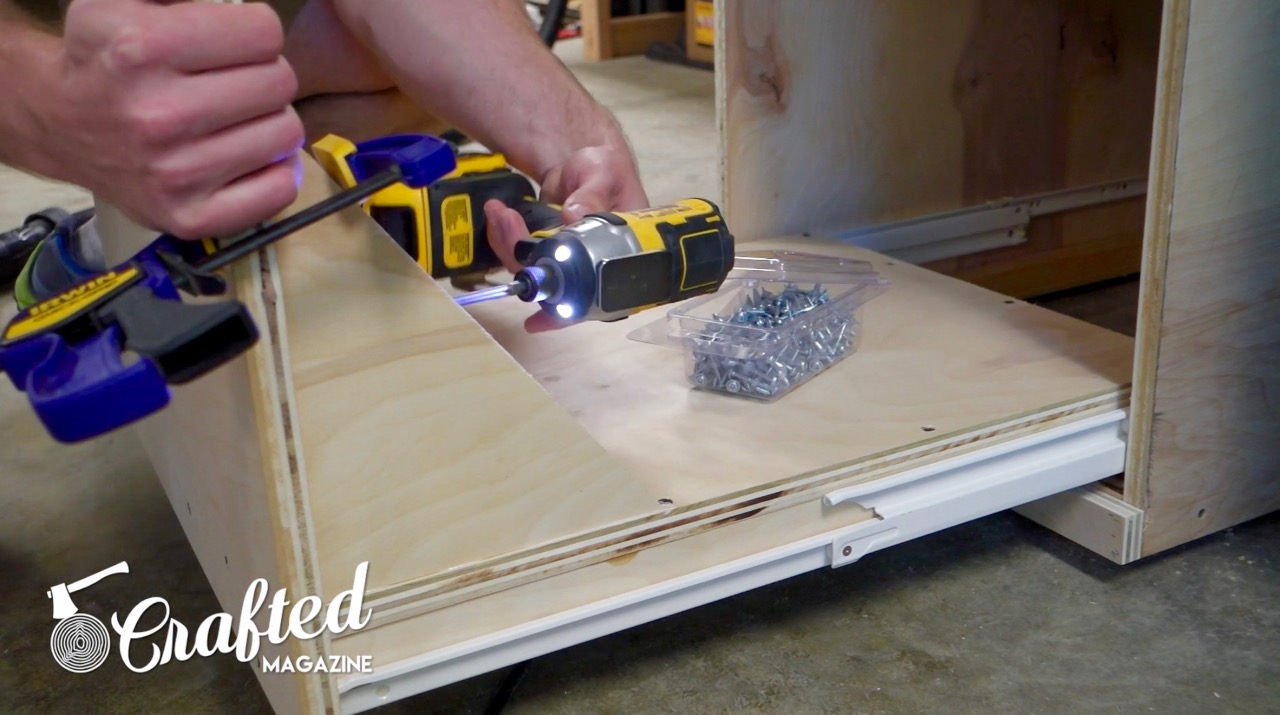
The next step was adding all of the drawer fronts to the drawers. Since I precut all of my pieces, this required a little bit of adjusting, but they went together nicely in the end. I used a few 1 ¼” screws from the inside of the drawers to attach them.

jay bates miter saw station

jay bates miter saw station
I then went about setting up the Fastcap Best Fence Bench Mount system. This took some trial and error, as I realized the platform for my miter saw wasn’t level but the work surfaces on either side were. I ended up shimming one end of the bench mounts and it worked out fine.

jay bates miter saw station

jay bates miter saw station
Finally, I cut some triangular support pieces for the bottom platform drawer front. I cut this on the table saw using an Incra Miter Guage and then attached the pieces using pocket holes and glue.

jay bates miter saw station
jay bates miter saw station
Thanks for checking out this two part series of my process of building the Jay Bates Miter Saw Station. This was by far my most ambitious woodworking project to date and I'm excited to start using the system. The amount of storage the system opened up is incredible.
Once again, I'd like to thank Purebond for sponsoring this build by providing us with the plywood. It is top quality and was a pleasure to work with. I'd highly recommend checking it out for your next plywood-based project.
If you haven't already, please consider subscribing to our YouTube channel. We publish new videos every Wednesday and subscribing is the best way to keep up with our videos.